Ready to paint? I read a book last night with my son where Pete the Cat had done some drawings others didn't like and so he decided he couldn't draw. They helped him remember that art is for everyone, it should be fun and it's about the joy it can bring. So remember that as you begin any art project. Try to have fun and it's okay to laugh at yourself!
Here is an alternate tutorial with a different look. I did this tutorial a few times to practice up and never liked how it turned out. We did this with the Young Women in our church group.
YouTube Tutorial Sacred Grove
We also did this tutorial as a Relief Society but stopped before adding the couple with the umbrella. This one was a lot easier but I decided to try it again with color and what I had at home. I wasn't able to get the same effect with so many different colors but could be fun to try as is or play with the color more.
Alternate Tutorial
So for my friend who is wanting to try again and add color I documented my process to share-
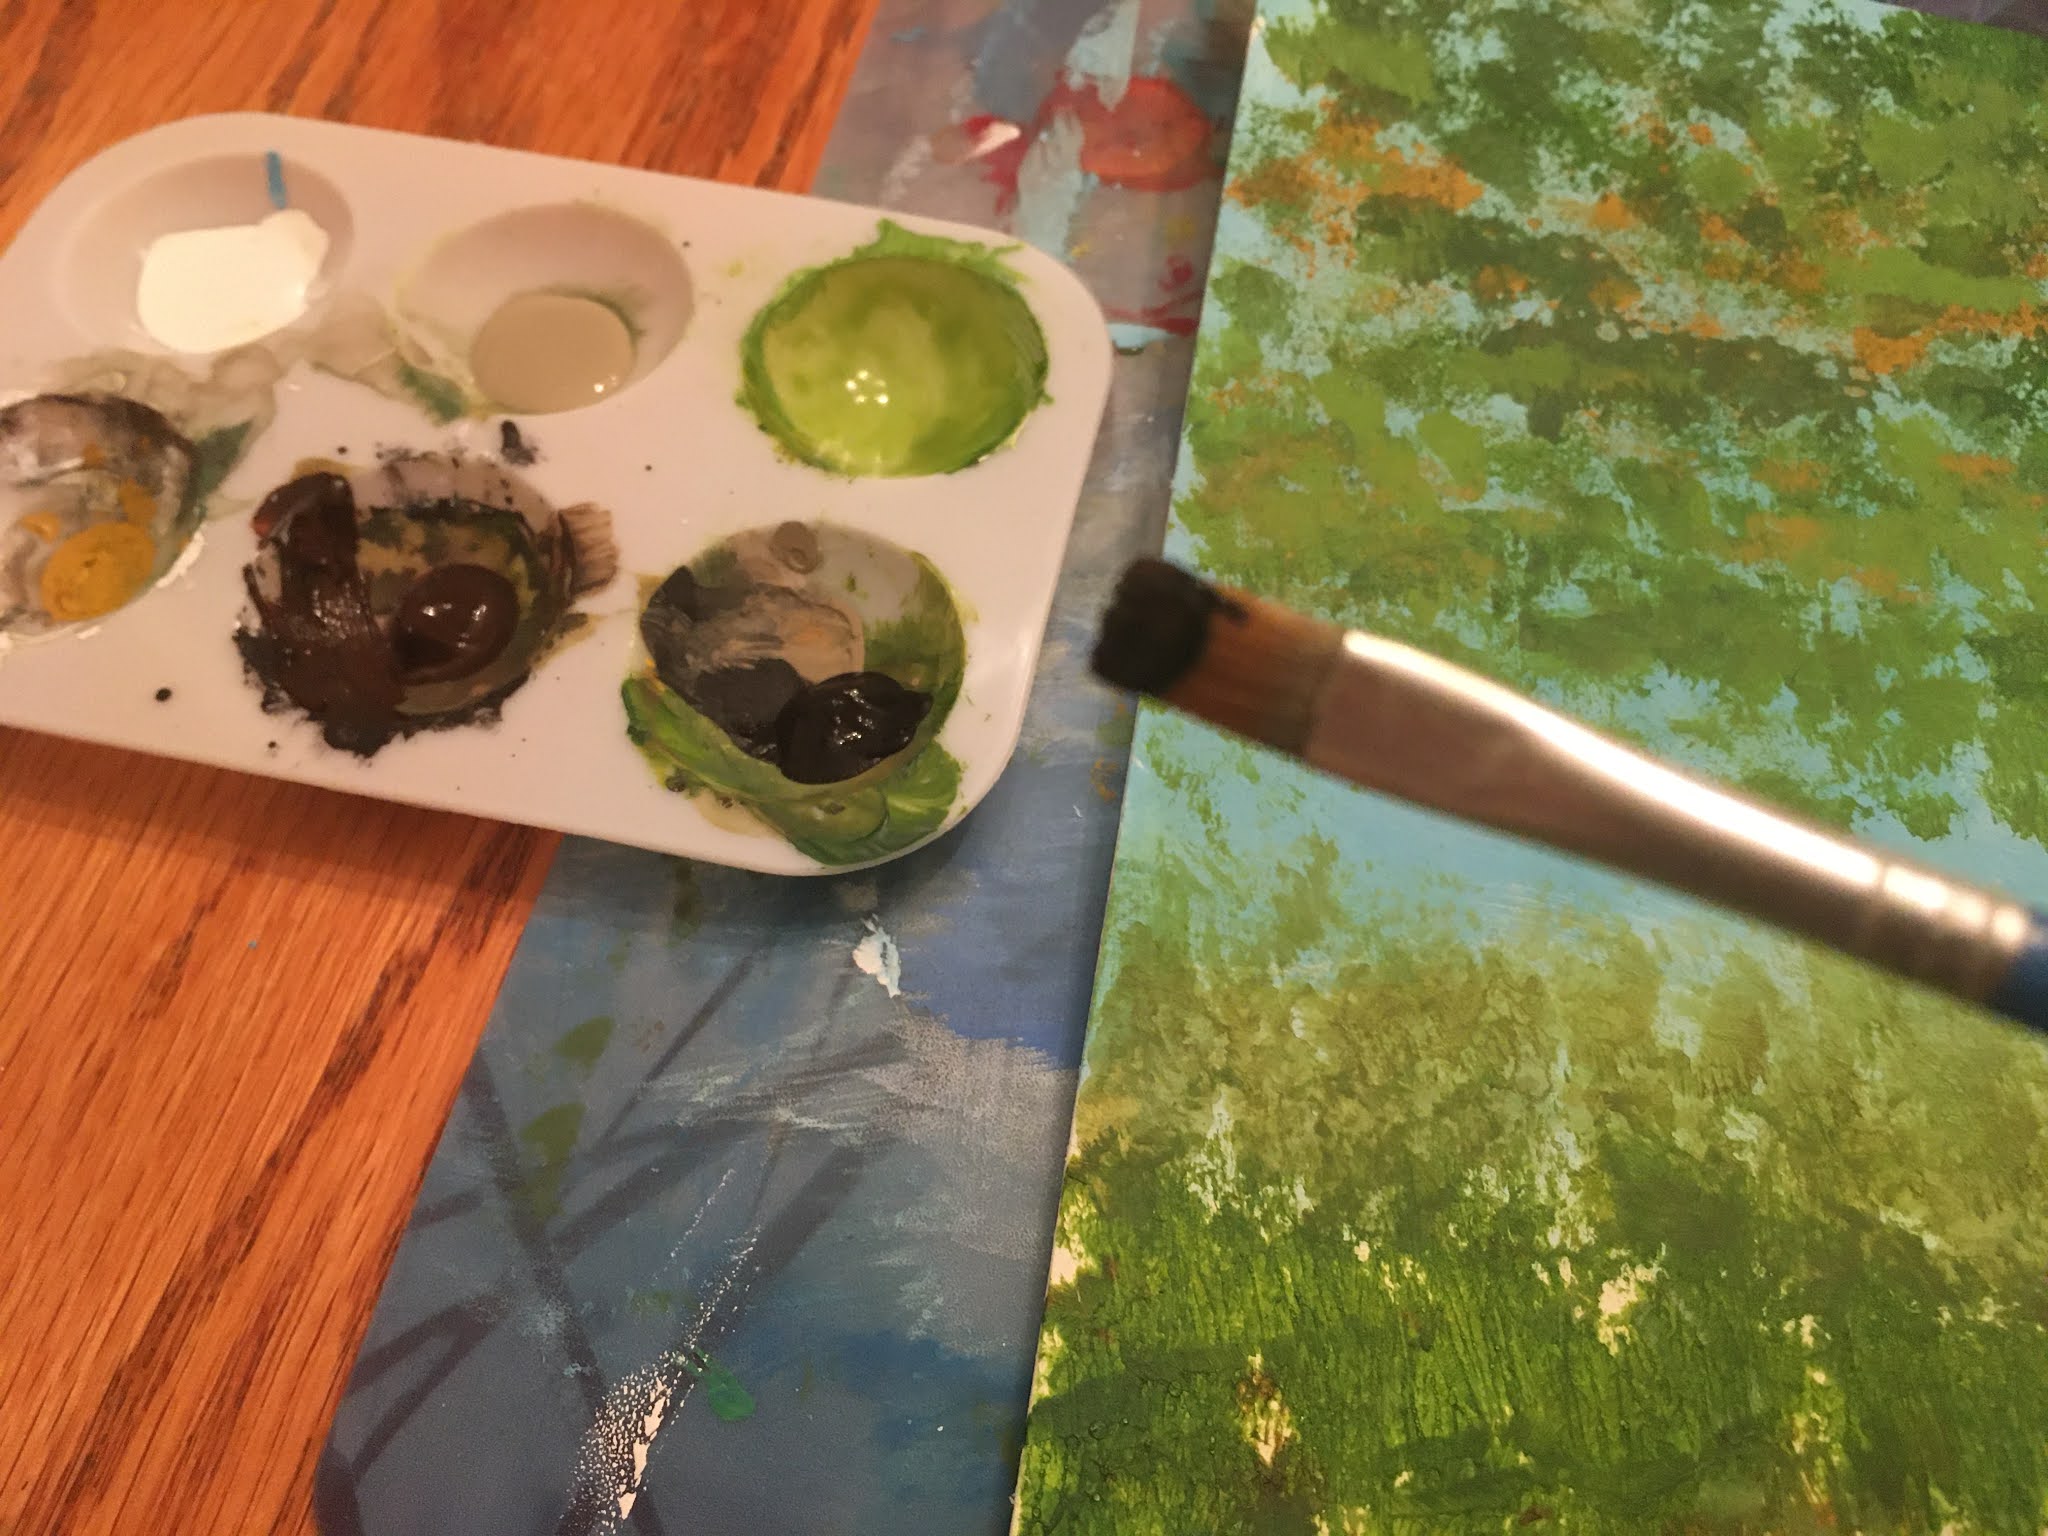
I didn't end up using the knife except for removing or moving paint and only ended up using 4 of the brushes and the sponges.
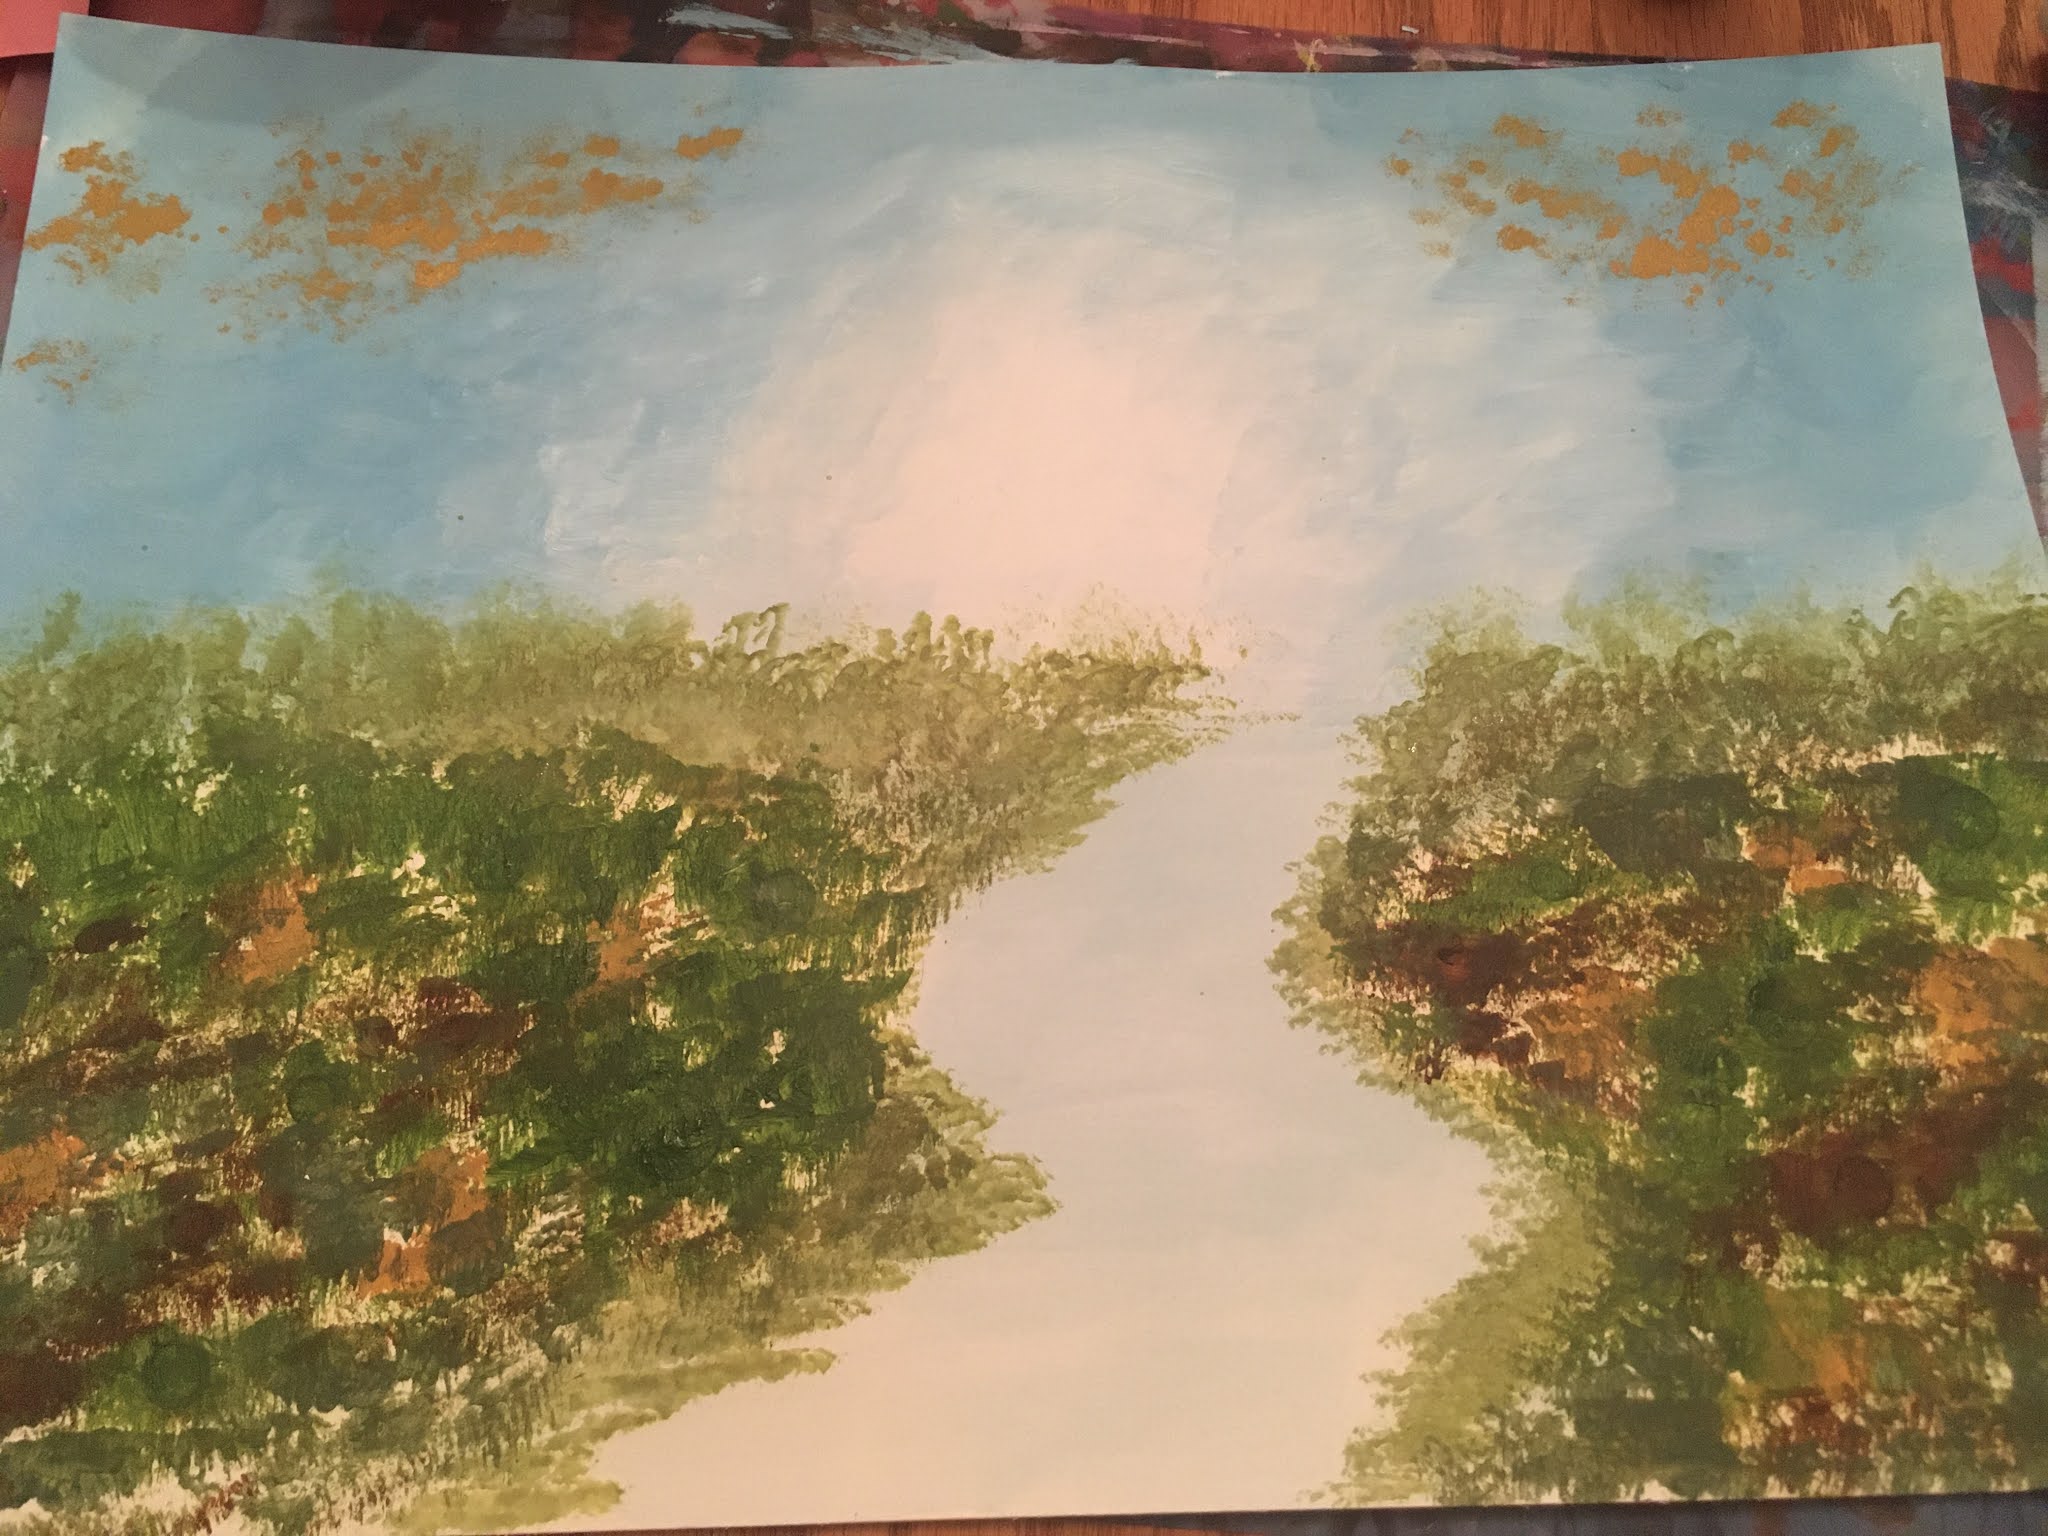
I ended up needing almost double the white. I used my 1/2 inch brush. Crisscross downward strokes work well. Spread the white alone first and then start moving into the blue slowly and then continue moving outward getting more blue gradually on your brush.
I dipped the tip of my paintbrush in my water to help me blend.
I dipped into the water again and just used what was left on my brush to blend straight across the horizon and then bringing it down to make a path. You can choose if you want a path.
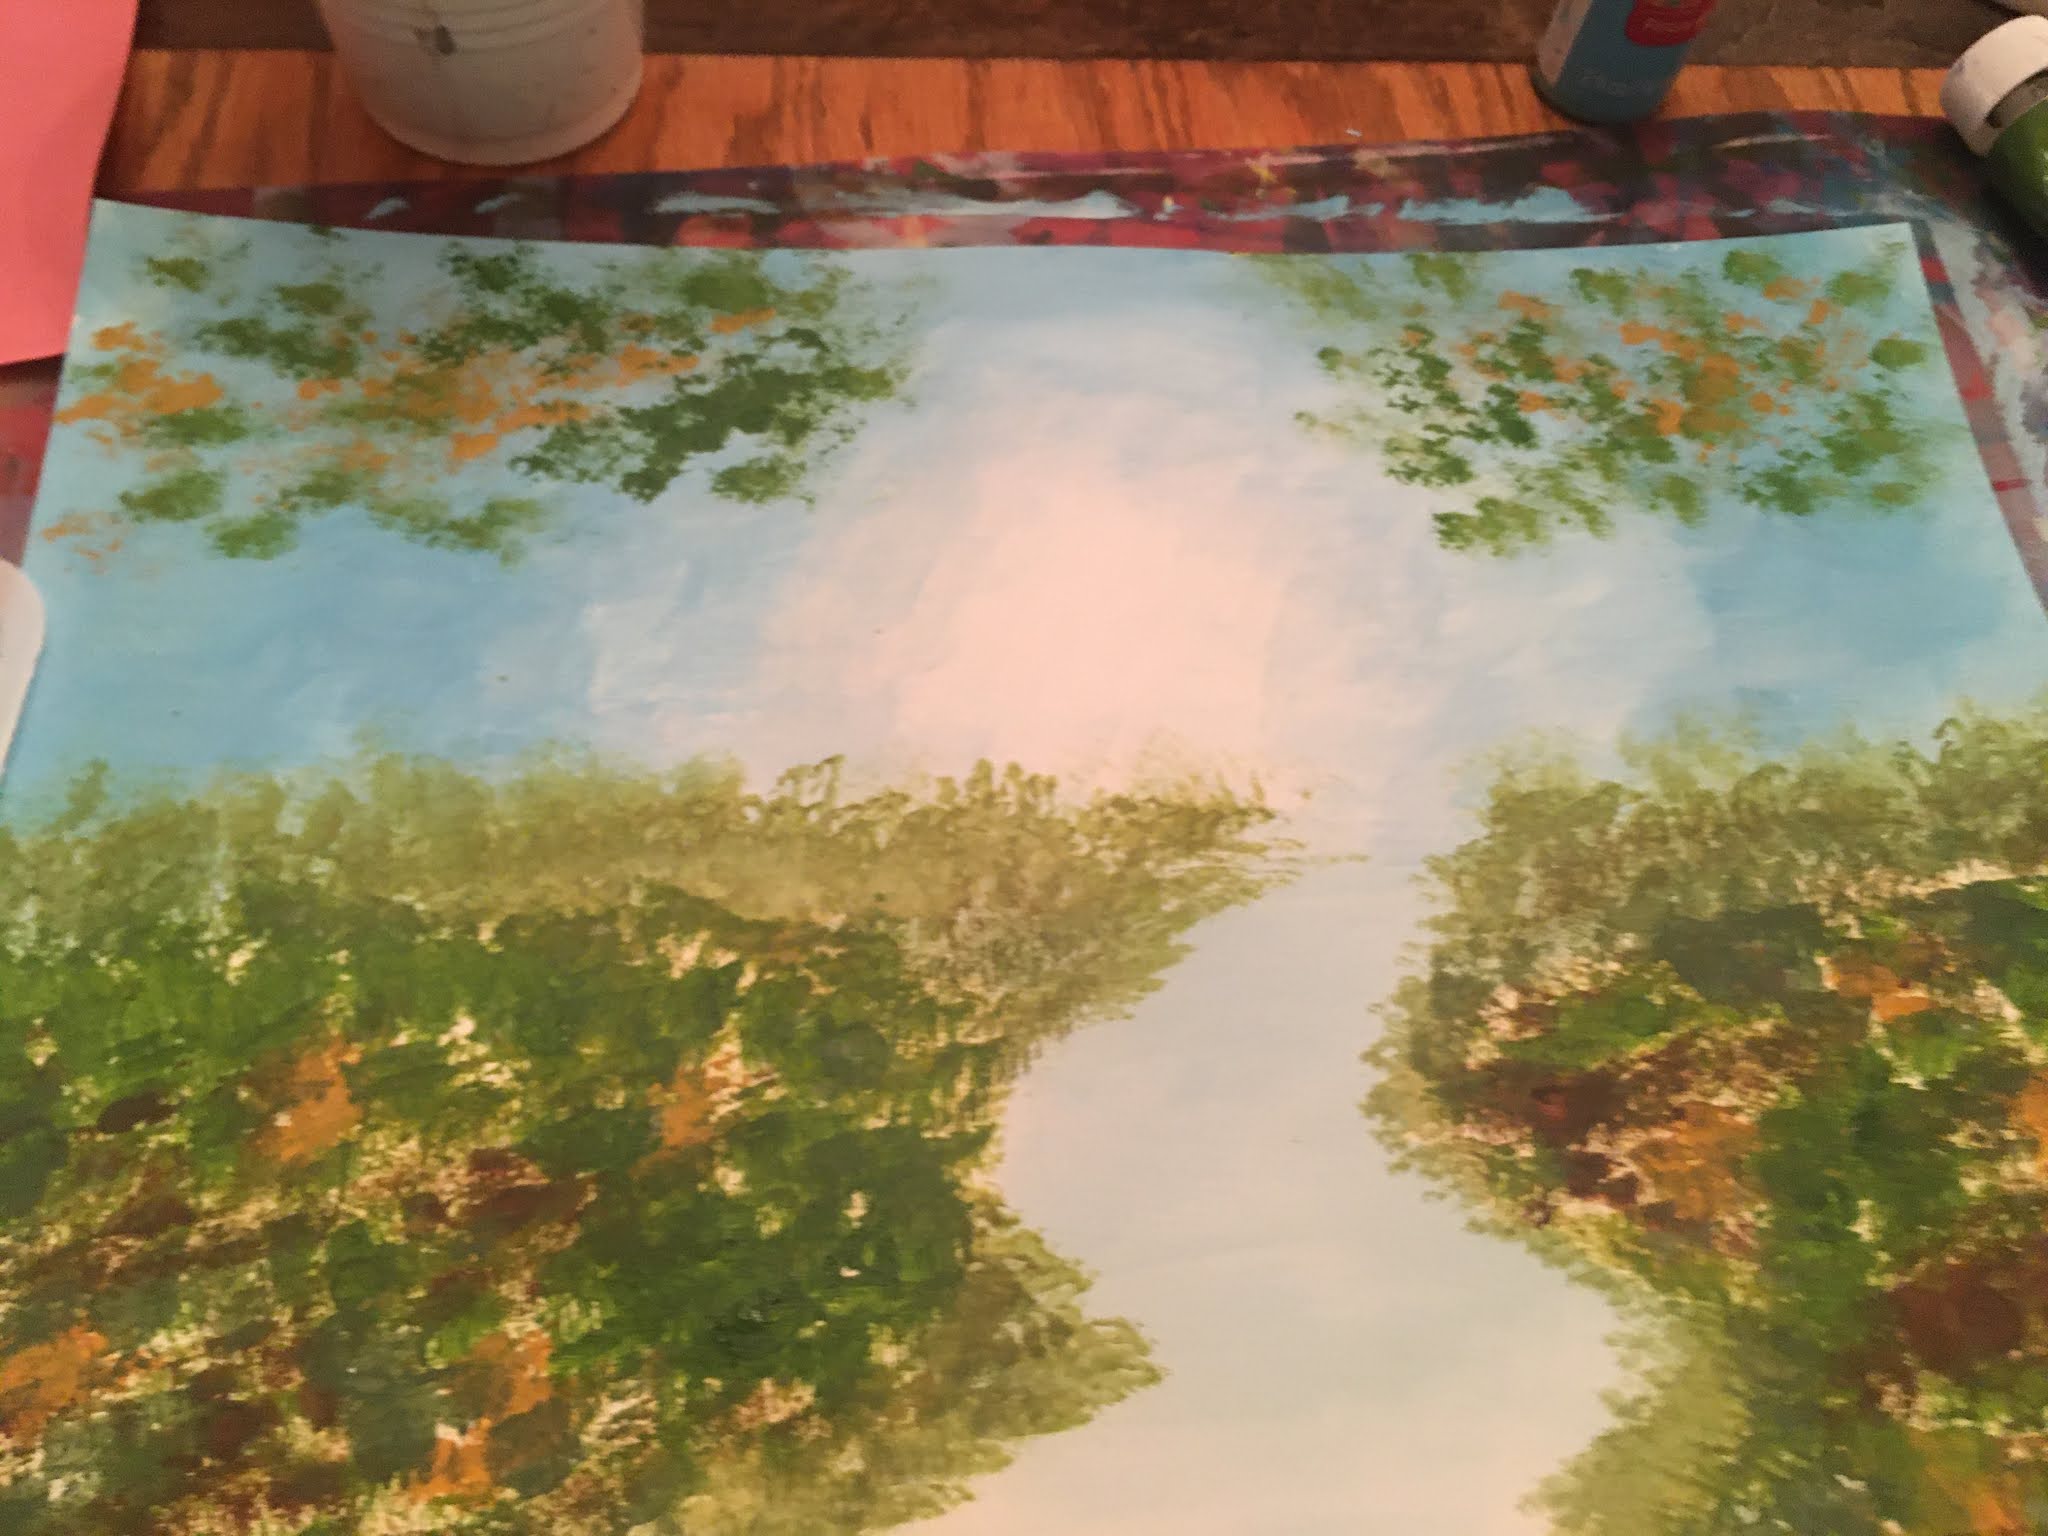
Start dabbing the paint starting with the lighter colors and getting into darker trying not to blend them together much.
Try to shape your path a little more and shape shadows curving down from the outer edges toward the middle of the bottom.
Again adding a little water to the tip of your brush, begin to clean the brush as you create edging on the path and move up the horizon with the lighter green. Rinse your brush.
Add yellow and green paint to your palate which can be a plate, piece of foil, or whatever you have to use. You can pull apart the sponge a little to make a bumpy surface. You can substitute a bundle of q-tips or crumpled foil if you don't have a painting sponge/sea sponge like this. Tap color onto the canvas again starting with lighter and moving darker.
I used a brush half the size as the one I used for the sky. I dabbed some green and then I created a mix of white and green with some water and dabbed the paint onto the canvas/paper.
You can continue to clean your brush onto the canvas adding a little water if needed. Note if you're using a canvas to keep the water to a very minimum if you want the color to last. Finish the background leaving a line of sky.
Using dark brown or a mix of black and brown, dip a new brush or rinse your brush and dab on the sponge or a paper towel to get rid of excess water. We will start forming the trees. Darker trunks are closer to the bottom and span from the lower canvas toward the top. I like to have an idea where my darker trees will be and then do the lighter trees behind first. These go lighter and shorter as you move up the canvas. A little water on your brush and a skinnier brush make forming the smaller trees and branches easier. If you want to get into more detail, the trunks would be darker on the opposite side of the white spot in the middle of the canvas. Skinny trees can be difficult so you may want to practice on a different paper first.
*Note paint can be darkened by adding a tiny bit of black and lightened by adding white. You can create a huge variety of color using just the original color and degrees of black and white.*
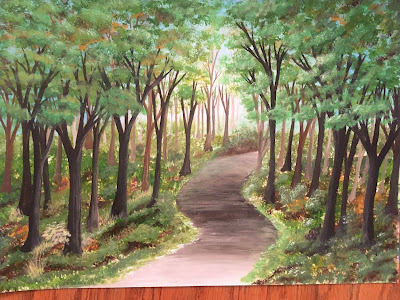
Work in the shadows and I cleaned my brush on the path making it darker in the middle. I had to fix the back part of the path at the end so work carefully. You may want to note the change I made in the coloring and the back of the path at the end. You path can be in any state of upkeep with a more natural path or a maintained, brush free path. I included another example of a path I did that has different coloring. It can also be as skinny or wide as you want!
Example of a prior path.
I added more shadow behind the trees and angling down.
I then worked on adding the foreleaves on the trees. I added a brighter green to make these lighter leaves called shamrock green and mixed it with the ochre yellow for a variant. Make sure you do this in patches so there is a lot of variation and negative space.
Add lighter color to the top of the leaves again remembering where the light is toward the middle.
Add some blending and detail to the foreground. Make sure the placement of everything makes sense- foliage either behind or in front of the trunks closest and branches to trees in the front also in front. You can make the grove as dark and dense as you want and bring the foliage up the trunks as much as you want as well. Add darker leaves around the outer edge to bring the focus toward the lighter horizon and frame your painting. Decide when you want to be done and stick to the timeframe because you can continue to play with it forever. :) Embrace any imperfections because that is what makes nature interesting and what makes your painting more realistic.